How to Build and Deploy a Website
Hello! I wanted to make a tutorial on how to make a website and get it up and running on the internet. I have always been fascinated with creating websites from scratch and it took me much longer than it should have to teach myself how to code and create websites.
I wanted to create this blog to show you how to use my free website template and create your first simple project (a Link-tree clone) to get familiar with the codebase.
What We’ll Cover
Installation and Setup
To create and deploy software you need a few things to make the process much easier. Most software developers use Git to track version control and organize committing changes. For that we will use Github Desktop has a simple interface.
Github DesktopWe will also use VSCode as an IDE (Integrated Development Environment). This is like the difference of type on a sticky note vs Google Docs. One allows you to type and the other is jam packed with tools that make the process much easier.
VSCodeFinally, we will use Netlify to deploy our site live. It is a free service that makes it much easier to put websites live on the web. We will get more into this in the final step.
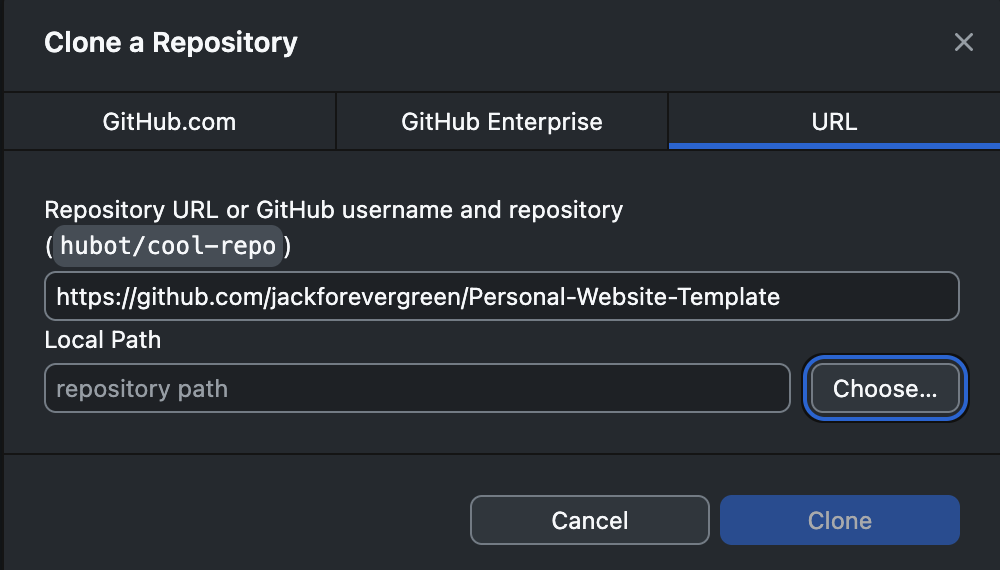
VSCodeTo use the template for this site open github desktop and clone the repo from the URL. Then you are ready to code in VSCode.
Creating a Page
As mentioned above we will create a page so that we can learn the codebase together. A useful page might be a Linktree Style Landing Page to host all of your links.
To get started lets map out what we need to do:
- •Collect all our links
- •Get all our assets into the project
- •Code the page layout
So for this Linktree we will get links to the following:
- •Youtube
- •Twitter/X
- •Website
Below are links to images we can use:
Google Drive Folder with Social IconsSo I use a bunch of AI to code pages like this. Here is a prompt to create a basic page.
Hello I am creating a Linktree clone for my personal website. I want a single page called links.tsx that displays five social media buttons: YouTube, Instagram, Twitter, LinkedIn, and Website. Each button should have a small icon on the left side and then the button with text. I have already imported the images. Please create one page links.tsx. Here is a sample pages code for the styling.
The buttons should:
- Be centered vertically in a column
- Use light styling with padding, border, and hover effect
- Use icons that I have already imported as image files
The images are:
import insta from "./assets/insta.png";
import linkedin from "./assets/linkedin.png";
import website from "./assets/website.png";
import twitter from "./assets/x.png";
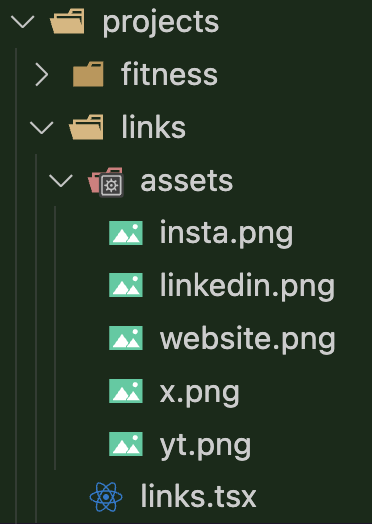
import youtube from "./assets/yt.png";Then, I created a new file named links.tsx inside the projects folder and add the images to assets folder to import.
Finally, I updated app.tsx for routing and added links to the header and projects page.
Run the code to make sure everything works.
Deploying to the Web
The first step is to commit the code to our github repo. Github desktop makes this much easier, so download that and sign in if you have not already. Just select the branch you want to commit to, and click push. This will commit your changes to github.
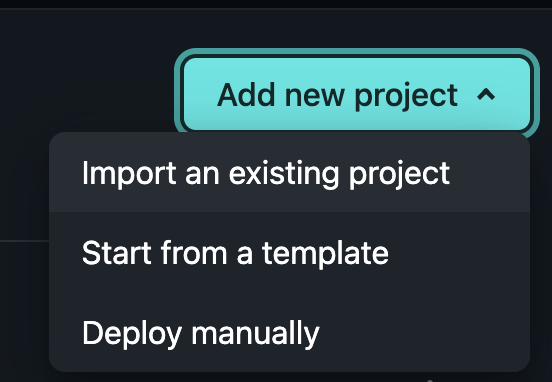
Then to deploy our code to a domain we will use Netlify. You will need to create an account or link your account with GitHub. Then select your repo and deploy it.
It is also very simple to add a custom domain so feel free to add that if you have purchases one.
That is it! Once it is built, your website is live. You can view the template at this url
jp-website-template.netlify.appI hope you learned something and found this valuable!
- Jack
Published on July 7, 2025
Back to Blogs